Mezogel Booster Treatment Protocol for Practitioners
Step-by-step Mezogel Booster treatment protocol for practitioners, covering consultation, preparation, treatment delivery, and follow-up procedures.
A standardized treatment protocol ensures consistent, high-quality Mezogel Booster treatments. This comprehensive protocol guide walks practitioners through every stage of the treatment process, from initial consultation to follow-up care, creating a framework for excellent client outcomes.
Phase 1: Pre-Treatment Consultation
Thorough consultation establishes treatment suitability and goals.
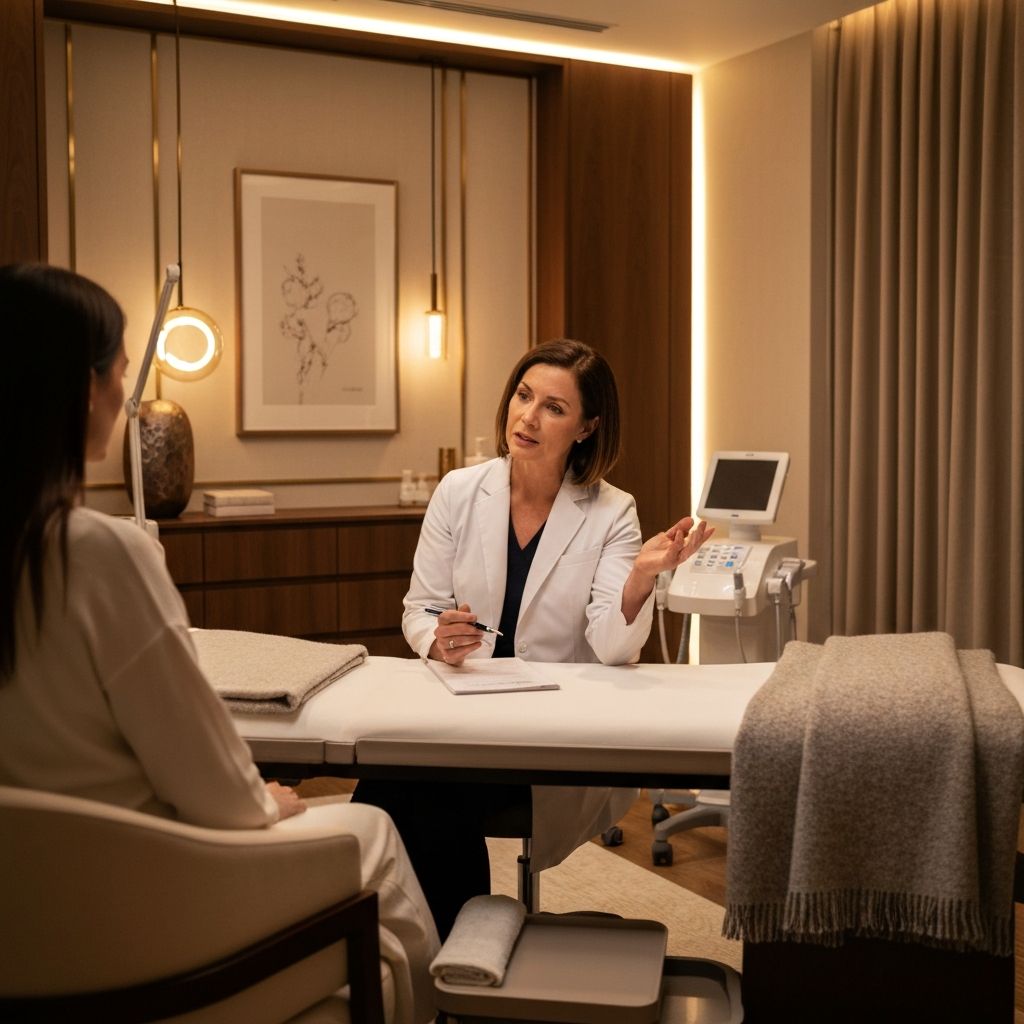
Step 1: Review Intake Forms
Before meeting the client, review completed medical history and intake forms. Note any potential contraindications, medications, allergies, or previous treatments that may affect your approach.
Step 2: Client Interview
Discuss client's concerns, goals, and expectations. Ask about previous aesthetic treatments and outcomes. Understand their skincare routine and lifestyle factors affecting skin health.
Step 3: Skin Assessment
Perform visual and tactile skin assessment. Document skin type, tone, texture, and specific concerns. Evaluate hydration status, elasticity, and aging signs. Take standardized baseline photographs.
Step 4: Treatment Planning
Based on assessment and goals, develop personalized treatment plan. Select treatment areas and appropriate technique. Determine session schedule and maintenance recommendations. Present plan and address questions.
Phase 2: Pre-Treatment Preparation
Proper preparation ensures safe, efficient treatment delivery.
Step 5: Informed Consent
Review risks, benefits, alternatives, and expected outcomes. Ensure client understanding. Obtain signed informed consent. Document consent in client record.
Step 6: Treatment Area Preparation
Thoroughly cleanse treatment area to remove makeup, oil, and debris. Apply topical anesthetic if indicated (typically 20-30 minutes before treatment). Mark injection points if using systematic approach.
Step 7: Product and Equipment Preparation
Verify product selection and expiration date. Check package integrity. Prepare appropriate needles or cannulas (typically 30-32 gauge). Organize supplies for efficient treatment delivery. Ensure sterile field.
Phase 3: Treatment Delivery
Systematic treatment delivery ensures even distribution and optimal results.
Step 8: Final Pre-Injection Checks
Remove topical anesthetic if used. Perform final cleansing with antiseptic solution. Confirm client comfort and readiness. Address any last-minute questions or concerns.
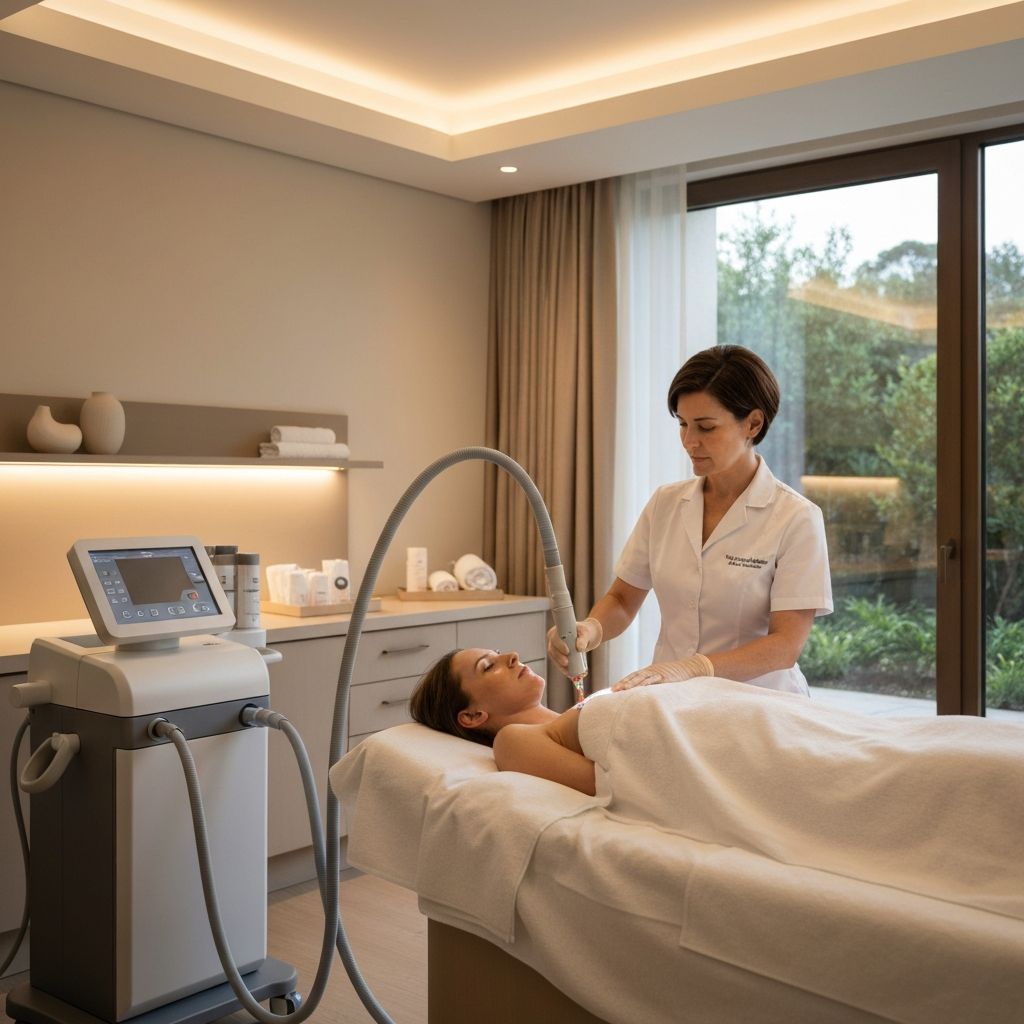
Step 9: Injection Procedure
Begin with selected technique (microinjection, nappage, or other). Work systematically across treatment area. Maintain consistent depth (mid-dermis) and volume per injection point. Monitor client comfort throughout. Adjust technique as needed for different facial zones.
Step 10: Zone-by-Zone Approach
Forehead: horizontal rows following natural contours. Temples: gentle technique, avoiding superficial vessels. Periorbital: extra-fine technique, conservative volumes. Cheeks: primary treatment area, systematic grid. Nasolabial area: careful placement, respect tissue sensitivity. Jawline and chin: complete facial treatment.
Step 11: Completion Checks
Review treatment area for even distribution. Address any areas needing additional product. Gently cleanse any blood or product residue. Document volumes and areas treated.
Phase 4: Immediate Post-Treatment
Proper immediate care supports optimal healing and client experience.
Step 12: Immediate Assessment
Observe treatment area for any immediate concerns. Apply cold compress if needed for comfort. Allow client to view results and ask questions.
Step 13: Aftercare Instructions
Review verbal aftercare instructions with client. Provide written instruction sheet. Emphasize key points: no touching, no makeup immediately, sun protection. Provide emergency contact information.
Step 14: Scheduling and Payment
Schedule next treatment session if applicable. Process payment. Confirm follow-up communication method. Thank client and ensure comfortable departure.
Phase 5: Documentation and Follow-Up
Complete documentation supports continuity of care and practice management.
Step 15: Treatment Documentation
Record all treatment details: areas treated, volumes used, technique employed, any complications or concerns, and client response. Add treatment photos to record.
Step 16: Follow-Up Communication
Send follow-up message within 24-48 hours checking on client. Address any concerns promptly. Request feedback on experience.
Step 17: Results Assessment
At follow-up appointment, assess treatment results. Take comparison photographs. Document client satisfaction. Plan subsequent treatments as indicated.
Ziba Aesthetics Training Institute
Learn comprehensive treatment protocols at Ziba Aesthetics Training Institute, 7191 Yonge St Unit 701, Markham. Hands-on training covers every aspect of professional practice. Serving practitioners from Toronto, Markham, Thornhill, Richmond Hill, and Aurora. Call (416) 318-7447 or visit aesthetictraining.ca.
Frequently Asked Questions
More Mezogel Booster Articles
Continue learning about Mezogel Booster treatments and training
- Mezogel Booster Treatment in Toronto: Complete Guide
8 min read
- Mezogel Booster Training and Certification in Ontario
7 min read
- Mezogel vs Profhilo: Comparing Skin Booster Treatments
9 min read
- 10 Benefits of Mezogel Booster for Skin Rejuvenation
10 min read
- How to Perform Mezogel Booster: Injection Techniques Guide
11 min read
- Mezogel Booster Side Effects and Safety: Complete Guide
10 min read
More Laser Training Articles
Continue learning about laser training, certification, and aesthetic careers
- Laser Technician Certification in Ontario: Requirements and Training
9 min read
- Advanced Laser Training for Experienced Technicians
7 min read
- Laser Training in Thornhill: Complete Certification Guide
12 min read
- Laser Hair Removal Training in Thornhill: Get Certified
11 min read
- Laser Skin Rejuvenation Training in Thornhill
11 min read
- Best Laser Training Center in Thornhill and Toronto
11 min read
Related Programs
External Resources
- Medical Documentation Standards
Healthcare record-keeping guidelines